Thinking about upgrading your outdoor space with artificial grass? It’s a cost-effective, low-maintenance solution that stays lush and green all year round. But before you jump into the process, it’s important to know what goes into installing artificial grass. Whether you’re a homeowner, a business owner, or a property manager in the Sunshine State, this guide will walk you through the major steps of artificial grass installation in Florida.
By the end of this article, you’ll know exactly what to expect during installation, the key benefits of artificial grass, and how to ensure your project is a success.
Why Choose Artificial Grass?
Artificial grass is quickly becoming a popular choice among Florida residents for many great reasons:
- Low Maintenance - Say goodbye to mowing, watering, or fertilizing. Artificial turf requires minimal upkeep to look pristine year-round.
- Durability - Florida's intense sun and rainy seasons can wreak havoc on natural grass, but artificial options stay intact and beautiful.
- Eco-Friendly - Save water and reduce your environmental footprint by eliminating irrigation.
- Cost-Effective - While the upfront investment might seem high, you’ll save significantly on lawn maintenance over time.
- Safe and Clean - Pet owners love artificial turf because it’s easy to clean and doesn’t create muddy patches.
What to Expect During the Installation Process
Understanding the artificial grass installation process can help you avoid surprises and ensure you’re fully prepared. Below, we break it down step-by-step.
Step 1: Site Assessment and Planning
The first step is evaluating your space. A professional installer will visit your property to assess the condition of the ground and determine exactly what’s needed. Here’s what to expect:
- Measuring Your Space: The area will be measured to calculate how much artificial grass and other materials are required.
- Identifying Potential Challenges: The installer will check for slopes, tree roots, and drainage issues that could complicate the installation.
Step 2: Removing Existing Lawn and Clearing the Area
Once the plan is finalized, the next step is preparing the ground. This involves removing your existing lawn, rocks, debris, or any other obstructions. Proper site preparation ensures that your artificial grass lays smoothly and lasts longer.
- Digging Up Sod: It usually requires the removal of about 2–4 inches of existing lawn.
- Weed Prevention: A weed barrier fabric is installed to stop weeds from growing through the turf.
Step 3: Preparing the Base Layer
A strong and stable base is key to ensuring your artificial grass drains properly and resists wear and tear. Here's how this step works:
- Base Material Installation: Crushed rock or gravel is spread evenly across the cleared area. This creates a solid foundation that won’t shift over time.
- Compacting the Base: Using a vibrating plate compactor, the base is compressed to create a level, stable surface.
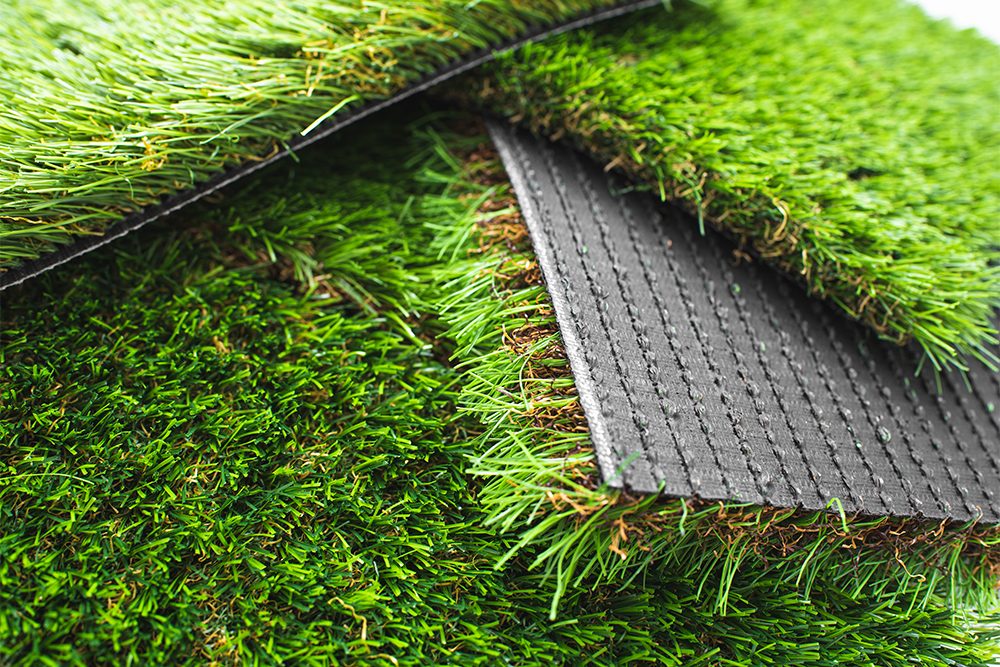
Step 4: Installing Artificial Grass
With the groundwork complete, it’s finally time to install the turf. This phase involves precision to ensure the grass looks natural and stays secure.
- Laying Out the Turf: The artificial grass is unrolled and trimmed to fit your space perfectly. Professionals take extra care to make sure the seams are invisible.
- Securing the Grass: The edges of the turf are secured with nails or landscape stakes to keep it in place.
- Infilling: Silica sand or rubber granules are spread across the surface to weigh it down and provide a softer, more natural feel underfoot.
Step 5: Final Touches and Quality Inspection
Before the job is complete, the installers will go over every detail to make sure your artificial grass is perfect. They’ll brush the turf to fluff up the blades, inspect for any inconsistencies, and clean up the work area.
Maintenance Tips After Installation
One of the best things about artificial grass is how easy it is to maintain. Still, a little care can keep it looking its best for years:
- Rinse Regularly: Hose it down to remove dirt and debris, especially after heavy use.
- Avoid Heat Damage: While artificial turf is durable, avoid placing hot items, like grills or smoldering charcoal, directly on the surface.
- Brush Occasionally: Use a stiff broom to keep the grass blades standing upright.
Why Florida is the Perfect Place for Artificial Grass
Florida’s climate can create challenges for natural lawns, which is why artificial grass is such a great option here. The hot sun, heavy rainfall, and high humidity can make maintaining natural grass both time-consuming and expensive. Artificial turf eliminates these hassles, providing a lush, green lawn that thrives in any weather.
How to Ensure a Successful Installation
To make sure you love your new artificial grass, keep these tips in mind:
- Work with Professionals: DIY installations can lead to issues like improper drainage or uneven surfaces. A professional team ensures top-quality results.
- Choose High-Quality Turf: Not all artificial grass is created equal. Opt for UV-resistant, durable materials designed for Florida’s climate.
- Ask for a Warranty: Reputable installers often offer warranties on their materials and workmanship, giving you peace of mind.
Transform Your Lawn Today!
Artificial grass installation in Florida is a smart investment in your property’s beauty and functionality. Whether you want a vibrant lawn, a pet-friendly play area, or a putting green for your backyard, artificial turf offers endless possibilities.
If you're ready to make the switch, contact Reliable Pavement Maintenance today! Get a free estimate and see how we can transform your outdoor space into a low-maintenance, high-performance oasis.