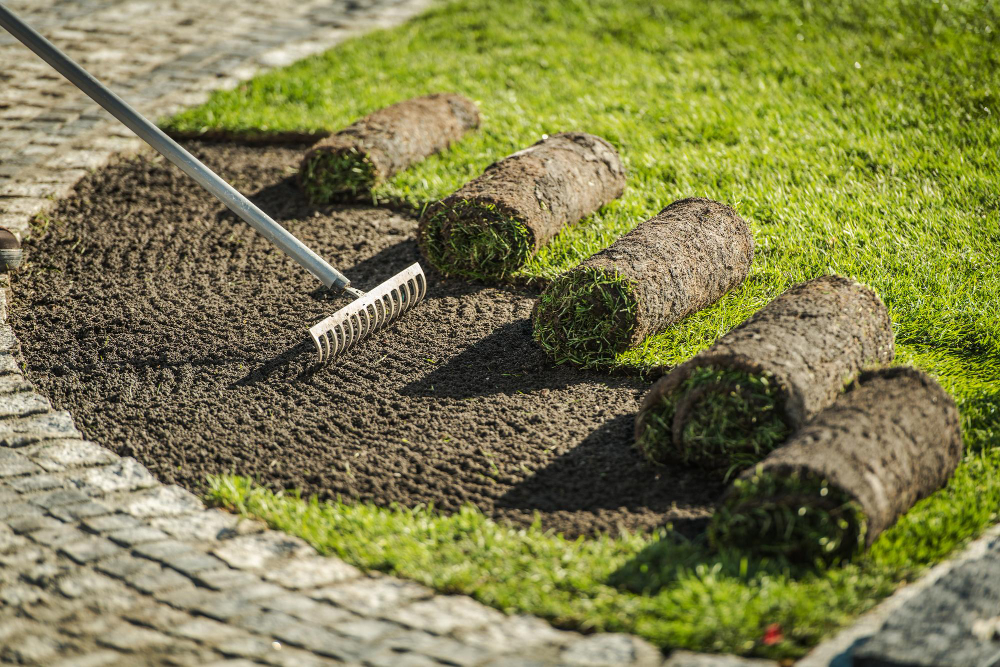
Are you dealing with sandy soil and planning on installing a new sod surface? You’re not alone. Sandy soil can be challenging for plant growth which makes it more complicated for sod to establish a healthy and strong root system. Fortunately, with the right preparations, you can turn your sandy soil into a fruitful environment for your new sod, and ensure it grows beautifully. In this blog post, we will discuss some practical ways to prepare sandy soil for a successful sod installation.
1. Test Your Soil
The first step to preparing your sandy soil for sod installation is to determine its pH level. Testing your soil will help you gain insights into the nutrients, minerals, and iron levels that may be needed to support healthy grass growth. Understanding these parameters will enable you to make better decisions on the type, amount, and quality of soil amendments required. You can purchase an affordable soil testing kit at a gardening center or online to test your soil.
2. Improve Soil Structure
Sandy soil has difficulty retaining water and nutrients, which restricts the growth of plants. One way to build better soil structure is to incorporate soil amendments such as compost, topsoil, and organic matter. Adding composted material can improve the water-holding capacity of the soil. Additionally, compost or other organic matter will help in providing nutrients to the new sod surface. Mix four to six inches of soil amendment material into the top layer of soil. This alteration will allow the new sod roots to grow deeper and establish a stronger root system.
3. Proper Watering
Proper watering is essential to all plant growth, and sod is no exception. To prepare your soil for new sod, apply 1-2 inches of water, and let it soak into the soil for at least 2-3 hours before installation. Water the soil again immediately after laying your sod surface, ensuring not to drown the roots at the same time. Be sure to maintain regular watering, especially during hot and dry periods, to support healthy root development.
4. Apply Fertilizer
Before laying down your new turf, apply a high-phosphorus fertilizer to the soil to support root development. Phosphorus helps to transport nutrients throughout the plant more effectively. It is essential to fertilize your soil a few days or weeks before installation to produce the best results. You should also fertilize your soil periodically after laying your sod to support proper growth and development.
5. Hire a Professional
If you are not sure of what to do or do not have the equipment to prepare your sandy soil for sod installation, hire a professional landscaping company. A skilled landscaping company with experience in sod installations and soil management can provide you with the knowledge and tools to guarantee success. They can also advise you on the correct sod to use or provide transportation services for the soil amendments.
Conclusion
Installing new sod on sandy soil may be daunting, but the right techniques and preparations can ensure successful outcomes. Adding compost, topsoil, and organic material will improve the soil's water-holding capacity, while fertilizing the soil will support the growth and development of your new sod surface. A professional landscaping company can make the process much easier for you, providing the knowledge, tools, and experience you need to achieve long-term success. By following these tips, you are sure to enjoy a beautiful and healthy new lawn in no time. If you need help with a sod installation in Orlando, FL, contact From The Ground Up Landscaping today for free estimates.