Creating a beautiful, lush lawn is the epitome of the American dream for many homeowners, and sometimes this dream begins with a clean slate – literally. Sod installation transforms patchy, muddy landscapes into vibrant, green carpeting that is ready for anything from a game of fetch with the family dog to a neighborhood barbecue. However, before this transformation occurs, the process of sod removal is often required. It’s crucial to understand the intricacies of sod removal to ensure a successful transition from the old to the new. In this in-depth guide, we highlight the pitfalls to avoid when tackling this important project.
The Anatomy of Sod Removal
The process of sod removal is more than just cutting and rolling up the grass. It involves careful planning, the right tools, and being mindful of the environment and your future lawn. Here’s a step-by-step breakdown of what the process should look like:
Plan the Timing
Sod is at its most robust and best able to establish a root system during the spring and fall. Work with nature, not against it, and plan your sod removal during these optimal growing seasons for the best results.
Mark the Area
Use marking paint or twine to outline the area where you plan to remove sod. This helps to visualize and measure the space accurately, preventing you from over- or under-removing grass.
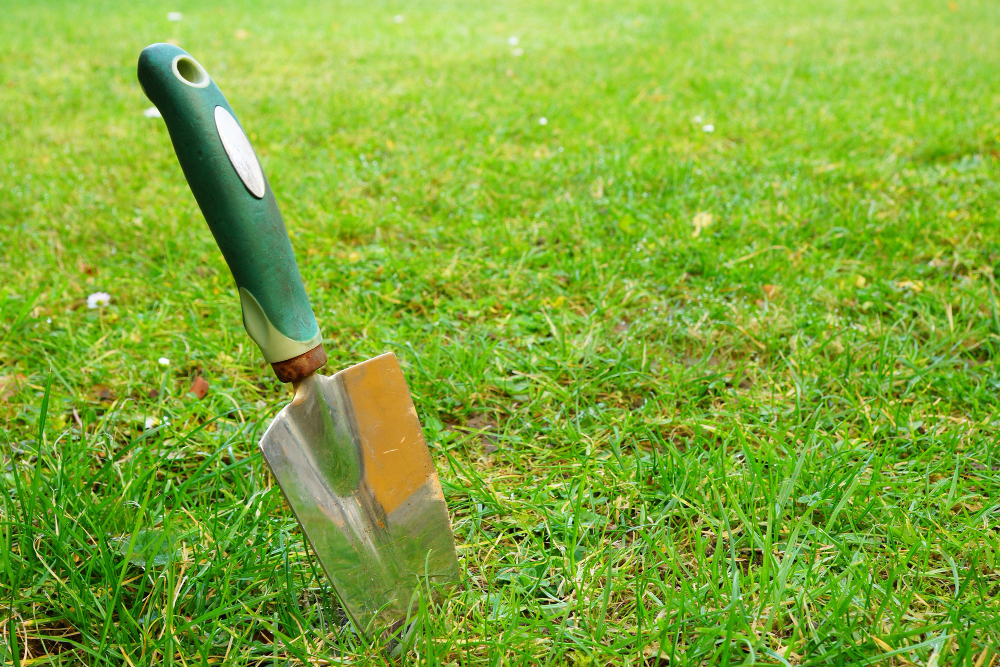
Start Cutting
A sod cutter, which you can rent from your local hardware store, is your best friend in this phase. Start by cutting the sod into manageable strips, usually about 1-foot wide, and then use a flat-edged spade to cut through the roots underneath.
Roll It Up
Once your strips are cut, roll them up neatly. This makes disposal much easier and keeps your workspace organized. You can also reuse the sod in other areas of your lawn if it's still healthy.
Prep the Ground
Don't rush to lay the new sod – proper ground preparation is key. This means removing any remaining roots and rocks and leveling the soil to create an even and smooth surface.
Lay the New Sod
When it's time to lay the new sod, start from one edge and work your way across the entire area. Stagger the joints as you would with brickwork and avoid any overlaps or gaps, maintaining contact with the soil below.
Water and Care
Keep your new sod well-watered for the first few weeks to encourage root development. Be mindful not to overwater, though, as this can lead to fungus and mold growth.
Common Sod Removal Mistakes To Avoid
Despite the seeming simplicity of cutting out grass, sod removal can go awry if you’re not careful. Some of the most common mistakes can set your project back or even lead to the failure of your new lawn. Here are some pitfalls to be aware of:
Cutting Too Deep or Too Shallow
Cutting sod too shallow leaves behind bits of grass and roots that will interfere with your new lawn's growth. On the other hand, cutting too deep can bring up unnecessary, nutrient-rich topsoil that you’ll have to dispose of or salvage. The optimal cutting depth is typically about 1 to 1.5 inches below the root line.
Not Preparing the Soil Properly
If the soil underneath your new sod isn't prepared appropriately, your grass won't establish a good root system. This can result in patchy growth and areas that die off. Take the time to work the soil and mix in organic matter for the best foundation.
Forgetting Edges and Corners
It's easy to focus on the main area and forget about the edges and corners. This mistake can cause irregular growth and make your lawn look unkempt. Use smaller, hand-held tools if necessary to give these areas the attention they deserve.
Ignoring Environmental Factors
Failing to consider the environmental conditions while removing sod can be costly. If it's too hot and dry, the sod you're trying to save will become stressed and may even die. Work strategically to remove sod during milder weather and keep the removed sections damp until they can be replanted.
Overlooking Equipment Maintenance
Using a dull or improperly adjusted sod cutter can lead to a frustrating and inefficient experience. Before starting the project, ensure all equipment is in good working order to create clean, even cuts.
Making Sod Removal Smoother and More Successful
Now that you're aware of what not to do, here are some best practices to ensure a smooth and successful sod removal project:
Research the Best Technique for Your Situation
Different sod removal methods, such as stripping or spraying with herbicides, might be more appropriate for your specific lawn and the intentions you have for the area.
Use the Right Tools
Invest in or rent high-quality sod cutting equipment. The quality of the cut will significantly impact the success of your new lawn.
Work in Teams
Sod removal in Orlando, FL is much more enjoyable and efficient when done with a team. Plan and execute the project with friends or family, and remember to stay hydrated and take regular breaks.
Protect the Environment
Dispose of old sod responsibly. If possible, compost it or find a recycling center that accepts sod. This minimizes waste and is better for the environment.
Be Patient
Rushing sod removal can lead to missed patches and incomplete sod removal. Take your time to do it right the first time.
By understanding the do’s and don’ts of sod removal, you’re well on your way to creating the lawn of your dreams. If you need professional help with sod removal in Orlando, FL, From The Ground Up Landscaping is here to assist. Contact us today for expert sod removal services and take the first step toward a beautiful new lawn. Remember, the effort you put into sod removal will directly impact the health and appearance of your lawn in the years to come.