Achieving a lush, green lawn is a goal for many homeowners. Sod installation can offer an instant upgrade to your home's curb appeal, but the key to success lies in preparation. If you're considering a fresh start for your yard with sod and looking for expert sod companies in Orlando, FL — From The Ground Up Landscaping is your premier choice. Here’s how to lay the groundwork for sod that takes root successfully and transforms your outdoor space.
Understanding the Importance of Preparation
Before diving into sod installation, understanding why preparation is critical cannot be overstated. Proper ground preparation ensures good sod-to-soil contact, essential for root establishment, and prevents issues like uneven surfaces and poor drainage.
Step 1: Clear the Area
Begin with a clean slate by clearing away debris, stones, old grass, and weeds. The aim here is to create a smooth, bare soil surface. For large areas, consider renting a sod cutter to expedite the process.
Step 2: Soil Testing and Amending
Soil health is paramount for sod success. Conduct a soil test to determine its nutrient and pH levels. Amend the soil as needed based on the test results, adding lime for acidic soil, sulfur for alkaline conditions, or organic matter to improve fertility and texture.
Step 3: Tilling the Soil
Tilling aerates the soil, allowing roots to penetrate deeply. Till to a depth of 4 to 6 inches, breaking up large clumps of dirt, which will help the sod to root more easily. Be mindful of buried utility lines and cables when tilling.
Step 4: Grading the Yard
Grading involves leveling the yard and slightly sloping it away from foundations and structures for adequate drainage. Use a rake to smooth out the soil and remove additional rocks or roots you might uncover.
Step 5: Final Soil Preparation
After grading, it's time for a final rake-through to create a smooth, flat surface. A lawn roller half-filled with water can help settle the soil and reveal low spots that need more soil.
Step 6: Choosing Quality Sod
The health of your sod starts at the farm. Ensure you're choosing high-quality sod from reputable sod companies in Orlando, FL. Look into "From The Ground Up Landscaping" for a provider that can guarantee fresh, healthy sod that's right for your climate and soil type.
Step 7: Moistening the Soil
Before installation, water the soil lightly, making it moist but not soggy. This provides a welcoming environment for new roots.
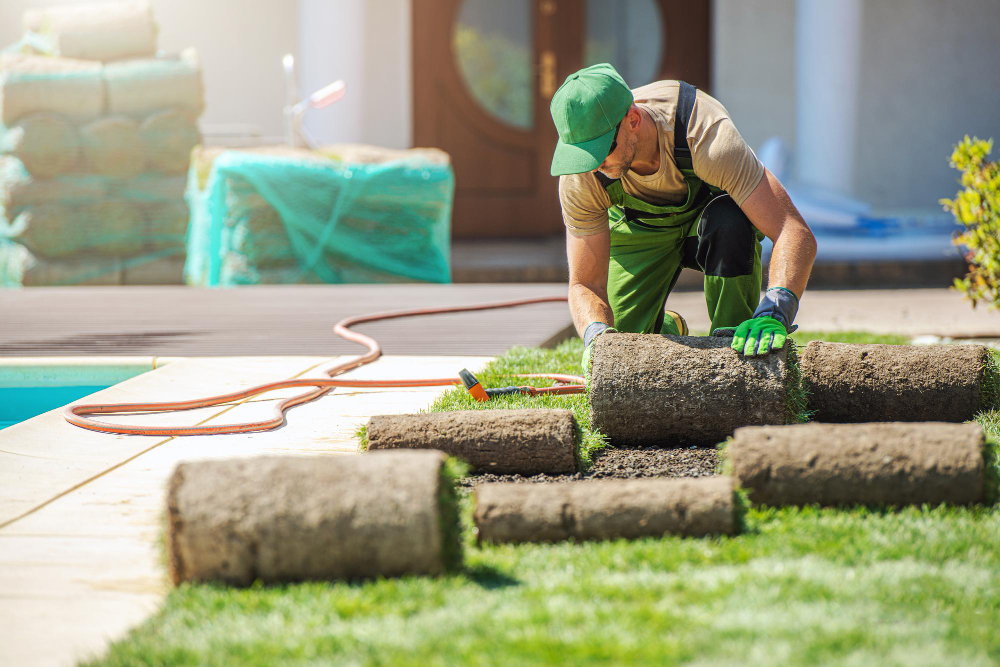
Step 8: The Installation
Lay sod pieces tightly together, staggering the seams in a brick-like pattern. Avoid stretching or overlapping sod, and use a sharp knife to make precise cuts around obstacles.
Step 9: Rolling the Sod
Once installed, go over the sod with a lawn roller to remove air pockets and ensure good contact with the soil beneath.
Step 10: Initial Watering
Soak the sod immediately after installation to encourage root growth. For the first week or two, the goal is to keep the sod and soil moist (but not flooded) at all times.
Maintaining Your Sod After Installation
Proper maintenance includes watering, mowing, and fertilizing. Remember that your sod's initial weeks are crucial, so avoid heavy foot traffic during this period.
Conclusion
Transitioning to a sodded lawn means embracing a meticulous preparation process. By following these steps, you’re setting yourself up for a healthy, beautiful lawn. If you're on the lookout for sod companies in Orlando, FL, consider reaching out to From The Ground Up Landscaping for a free estimate. They bring expertise and quality sod options perfect for your home's specific needs. Preparing your yard for sod might seem complex, but with professional guidance, you're just steps away from the green oasis of your dreams. Ready to take the next step towards a perfect lawn? Contact From The Ground Up Landscaping and watch your yard transform!